A Step-by-Step Guide to Tinning Enameled Wire
2023-06-06
Introduction:
Enameled wire, also known as magnet wire, is widely used in various electrical and electronic applications due to its excellent conductivity and insulation properties. However, soldering enameled wire can be a bit challenging, as the enamel coating prevents direct solder adhesion. Tinning the wire is a crucial step to ensure proper soldering connections. In this blog, we will guide you through the process of tinning enameled wire effectively.
Step 1: Gather the Necessary Tools and Materials
Before you begin, gather the following tools and materials:
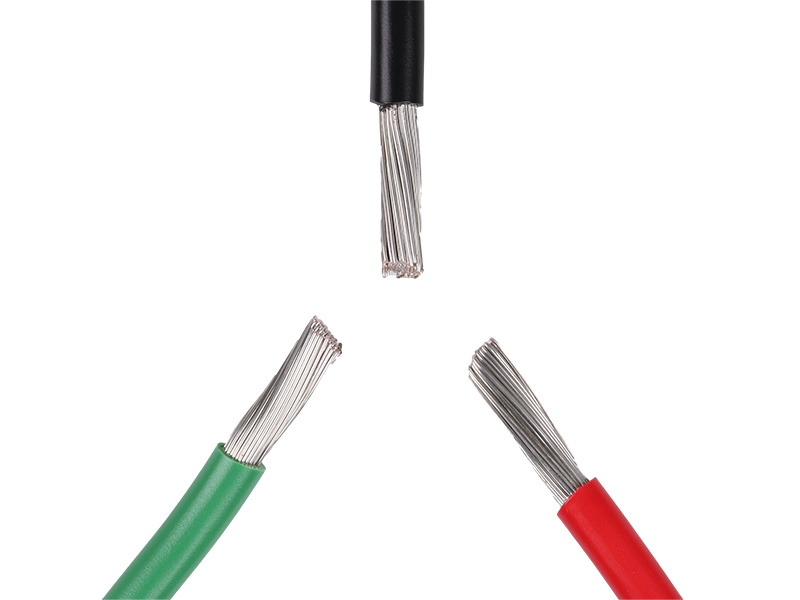
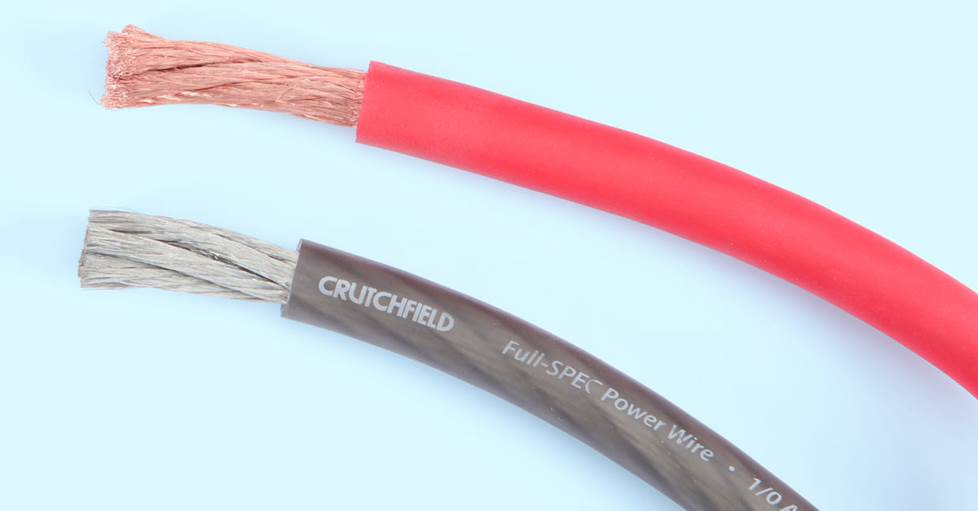
Enameled wire
Fine-grit sandpaper or wire stripper
Soldering iron
Rosin-core solder
Flux (optional)
Heat-resistant surface or soldering mat
Helping hands or clamps (optional)
Step 2: Prepare the Wire
To ensure good solder adhesion, you need to remove the enamel coating from the portion of wire that requires tinning.
Follow these steps:
Cut a small length of enameled wire that you want to tin.
If the enamel coating is thin, you can use fine-grit sandpaper to gently remove it. Alternatively, you can use a wire stripper specifically designed for removing enamel.
Carefully sand or strip off the enamel from the wire, exposing the bare copper underneath. Be cautious not to damage the copper wire during this process.
Step 3: Preheat the Soldering Iron
Preheating the soldering iron is crucial for achieving a clean and reliable solder joint. Allow the iron to heat up to the appropriate temperature for soldering electronic components.
Step 4: Apply Flux (Optional)
Flux is a chemical agent that helps improve solder flow and adhesion. While not always necessary, applying flux can be beneficial, especially when working with larger gauge wires or when dealing with stubborn enamel residues. Apply a small amount of flux to the exposed copper wire using a flux pen or a flux brush.
Step 5: Tin the Wire
Now that everything is prepared, it's time to tin the wire:
Hold the preheated soldering iron in one hand and the solder wire in the other.
Place the tip of the soldering iron in contact with the exposed copper wire. Ensure that the iron tip touches the wire and heats it evenly.
Allow the wire to heat for a few seconds until it reaches the appropriate temperature.
While the wire is still hot, gently touch the solder wire to the wire's surface near the soldering iron tip. The heat from the iron will melt the solder, which should flow onto the wire and coat it evenly.
Move the solder wire along the exposed wire, allowing the solder to evenly coat the entire length. Continue until the desired tinning coverage is achieved.
Step 6: Inspect and Clean
Once you have tinned the wire, inspect the solder joint to ensure it is smooth, shiny, and evenly coated. If you notice any imperfections, you can use a desoldering pump or solder wick to remove excess solder and re-tin the wire.
Conclusion:
Tinning
enameled wire is a vital step in achieving secure and reliable soldering connections. By following the step-by-step guide outlined above, you can successfully tin enameled wire and improve the quality of your electrical and electronic projects. Remember to exercise caution when handling soldering irons and ensure proper ventilation when working with flux. With practice and patience, you'll become proficient in tinning enameled wire and expand your capabilities in various electronic applications.

 (Live chat)
.jpg)
.jpg)
-enameled-wire-(1).jpg)
.jpg)
.jpg)